

Publish the public forms site
Create the Experience Cloud site, give the guest user access, apply the Flux theme, and place the form component.
For Salesforce administrators. One-time per org.
A form only becomes reachable once there is a public website to render it on. Flux Forms renders on an LWR Experience Cloud site, and that site is not part of the managed package: Experience Cloud site metadata does not package cleanly, so every org provisions its own. Everything the site needs is in the package (the theme, the renderer, the runtime, the guest permission set) — you assemble it once.
Budget half an hour. Two of the steps can only be done by hand in Experience Builder.
1. Enable Digital Experiences
Setup → Digital Experiences → Settings and enable it, then choose your domain. If your org already has an Experience Cloud site, this is done.
2. Create the site
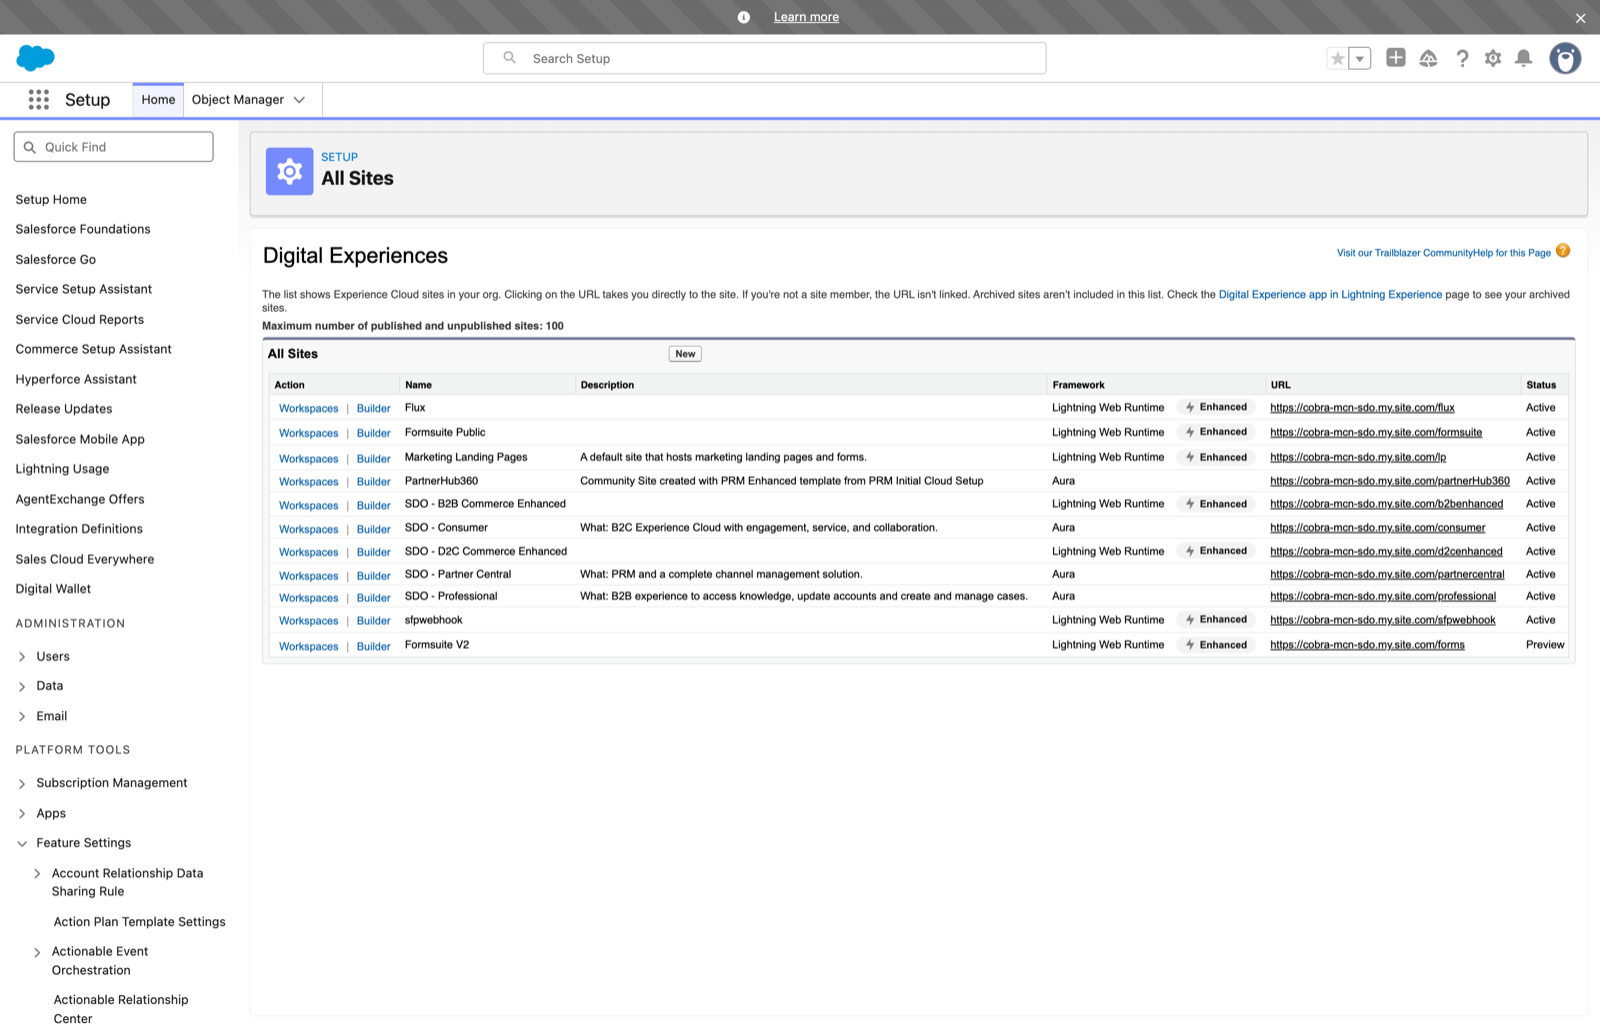
Setup → Digital Experiences → All Sites → New, and pick the Build Your Own (LWR) template.
It must be LWR. The renderer and the theme layout are LWR components and will not appear in an Aura-template site.
Give it a name and a URL path prefix — forms is the conventional choice, and it becomes part of every
public link: https://<your-domain>.my.site.com/forms.
3. Apply the Flux Forms theme
In Experience Builder → Settings → Theme, set the theme layout to Flux Forms Theme.
This is what makes the form look like a Flux form instead of a default Salesforce site. The theme layout injects the Flux Forms stylesheet across the whole site and wraps every page in the styling scope the form expects. Skip it and the form renders unstyled.
4. Place the form component
Open the page that will serve forms and drag the Flux Form component onto it from the Components panel.
There is nothing to wire. The component reads the form key from the URL itself, so one page serves every
form in the org — ?f=contact-us-1 and ?f=event-signup both land on this page and render different
forms.
It honours exactly four URL parameters:
| Parameter | Does |
|---|---|
f |
which form to render, by its Form Key. Required. |
lang |
render a specific translation, e.g. nl_NL |
b |
render with a specific branding theme |
data |
the encrypted prefill token. See Build a personalised link |
The component has one property, Read only (do not create submissions). Leave it off for the real form — with it on, submitting shows the confirmation but records nothing. It exists for demo placements.
5. Give the guest user access
Two parts, and both are needed.
First, in Experience Builder → Settings → General, activate public access for the guest user.
Then assign the Flux Forms - Guest permission set to the site's guest user, at Settings → General → Guest user profile → Permission Set Assignments.
That permission set is the entire security setup. It grants access to four Apex controllers and nothing else — no objects, no fields, no tabs. The guest user cannot read your data directly; it can only call those controllers, which decide for themselves what a public visitor is allowed to see. That is deliberate, and it is why you should not add object permissions to the guest profile to "make things work". If a form cannot reach a field, the fix is a Purpose, not guest permissions.
6. Publish
Publish in Experience Builder. Publishing is per-site and takes a few minutes to propagate.
7. Tell Flux Forms where the site is
Copy the site's full base URL and put it in CMS Media Settings → Site Base URL, with no trailing
slash, for example https://acme.my.site.com/forms.
Until you do, the Open Form button stays disabled for everyone and nobody can copy a public link. See CMS Media Settings.
8. If your forms accept file uploads
Schedule the abandoned-draft sweeper. A submission carrying files is created as a draft and promoted once the files land, so a visitor who closes the tab mid-upload leaves a draft behind holding files nothing will ever claim. The sweeper clears them.
Run this once in Setup → Apex → Anonymous Apex (it schedules itself daily at 03:00):
System.schedule('Flux Forms draft sweep', '0 0 3 * * ?', new AbandonedDraftSweeper());
Skip it only if no form in the org has a file upload field.
9. Check it actually works
Open an incognito window — this matters, because a normal window carries your Salesforce session and will render the form even when guest access is broken.
Then open https://<your-site>/forms?f=<form key> for an active form and confirm:
| Check | Expected |
|---|---|
| An active form's key | renders, branded, no login prompt |
| A deactivated form's key | "unavailable", not a rendered draft |
| A form whose only config is a draft | unavailable |
| Submitting | one Form Submission appears, marked anonymous, reaching Sent |
&lang= with one of the form's locales |
renders in that language |
&b= with a branding name |
that theme applied |
If the form renders in your normal browser but not in incognito, it is guest access — step 5.
If it renders but looks like a plain Salesforce page, it is the theme — step 3.
Sandbox refreshes
None of this ships with the package, so a refreshed sandbox needs the whole runbook again, plus the org-specific values in CMS Media Settings. It is worth writing your org's site name and URL prefix down somewhere your team can find them.