

Translate a form
Add languages, set the fallback, and translate only what differs.
The Translations scope is where you provide the form's text in each language you support. It works from the fields you built in the Fields scope — you translate them, you do not re-create them here.
Adding a language
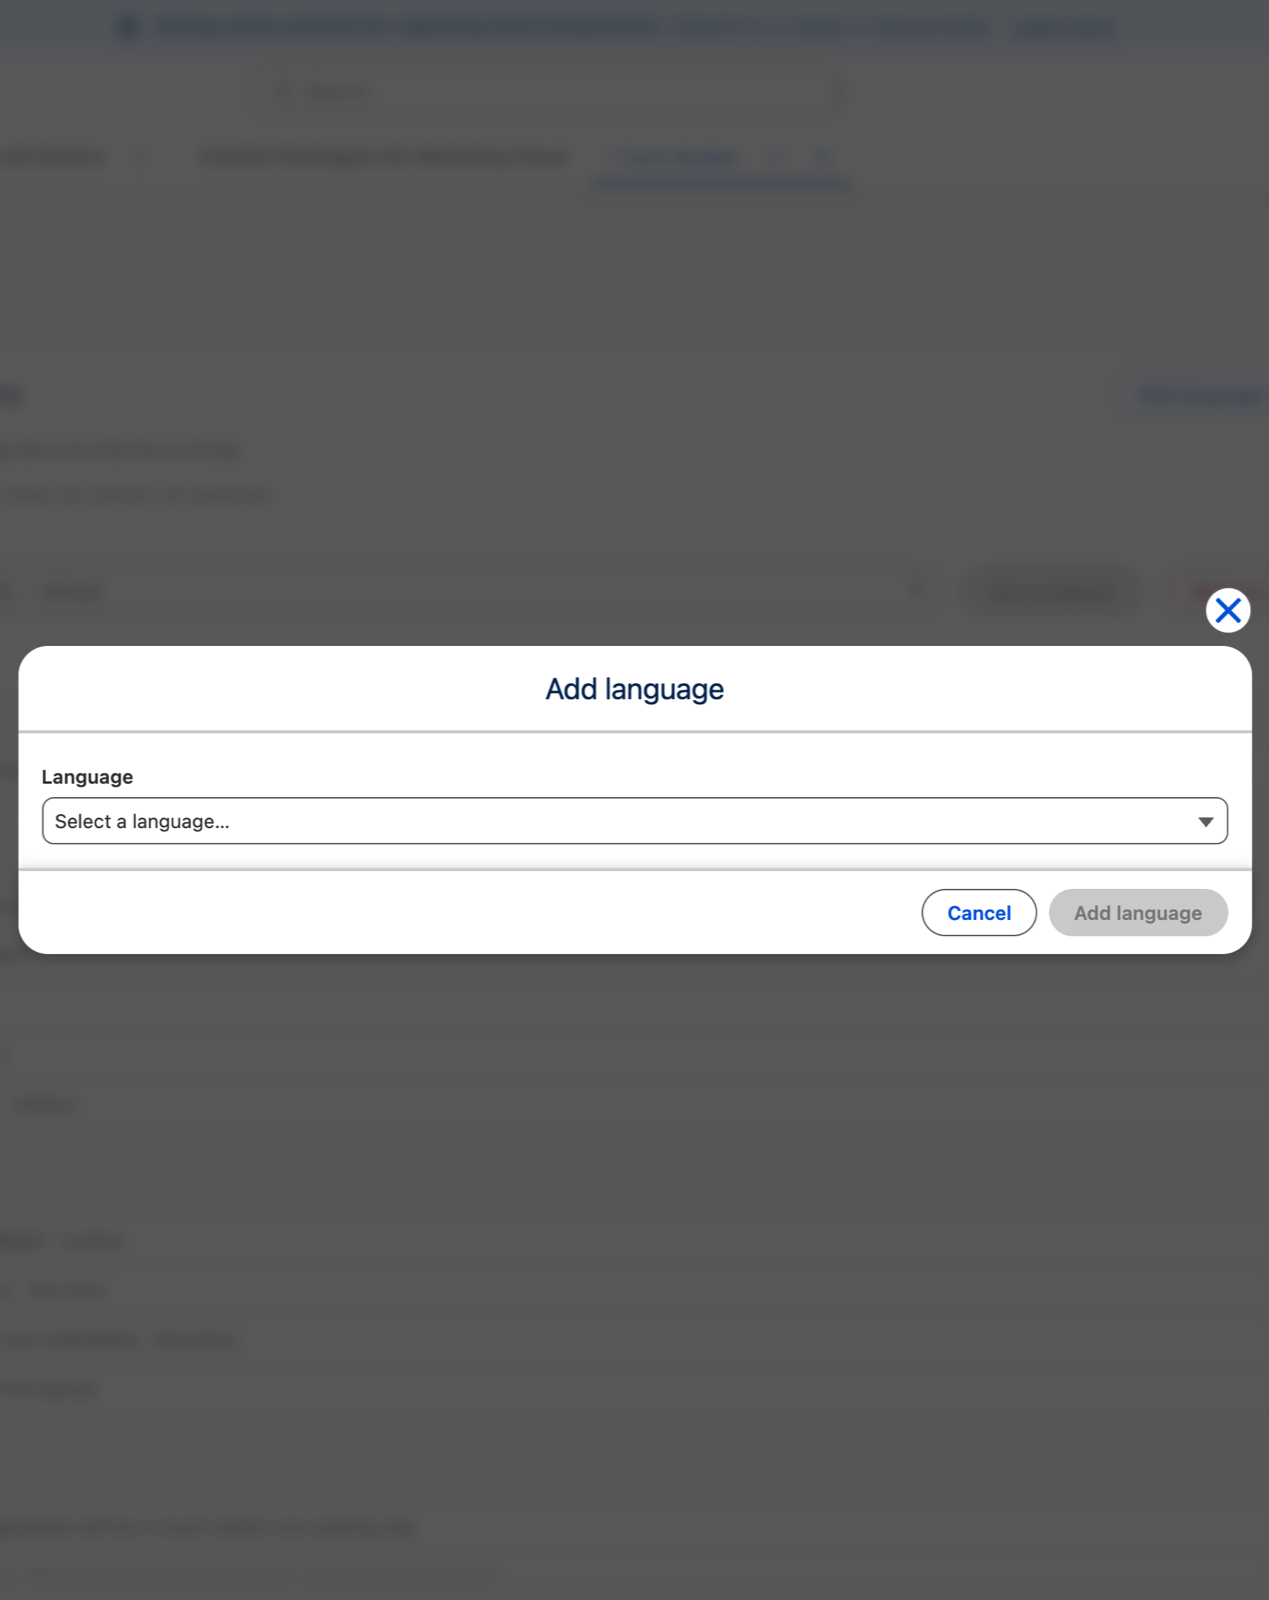
Click Add language, next to the Language selector at the top, then pick a locale and confirm.
- The picker lists every locale Salesforce supports, shown as name — code, for example French (France) — fr_FR. You are not limited to a short preset list.
- Languages you have already added are hidden from the picker.
- The first one you add becomes the default language automatically.
- The display name comes from the picker — there is no separate name to type.
The default language

Pick the language you are working on in the Language selector. The one marked — default is the fallback used when a visitor's language has no translation.
- Set as default changes which language that is.
- Remove drops a language.
What you translate
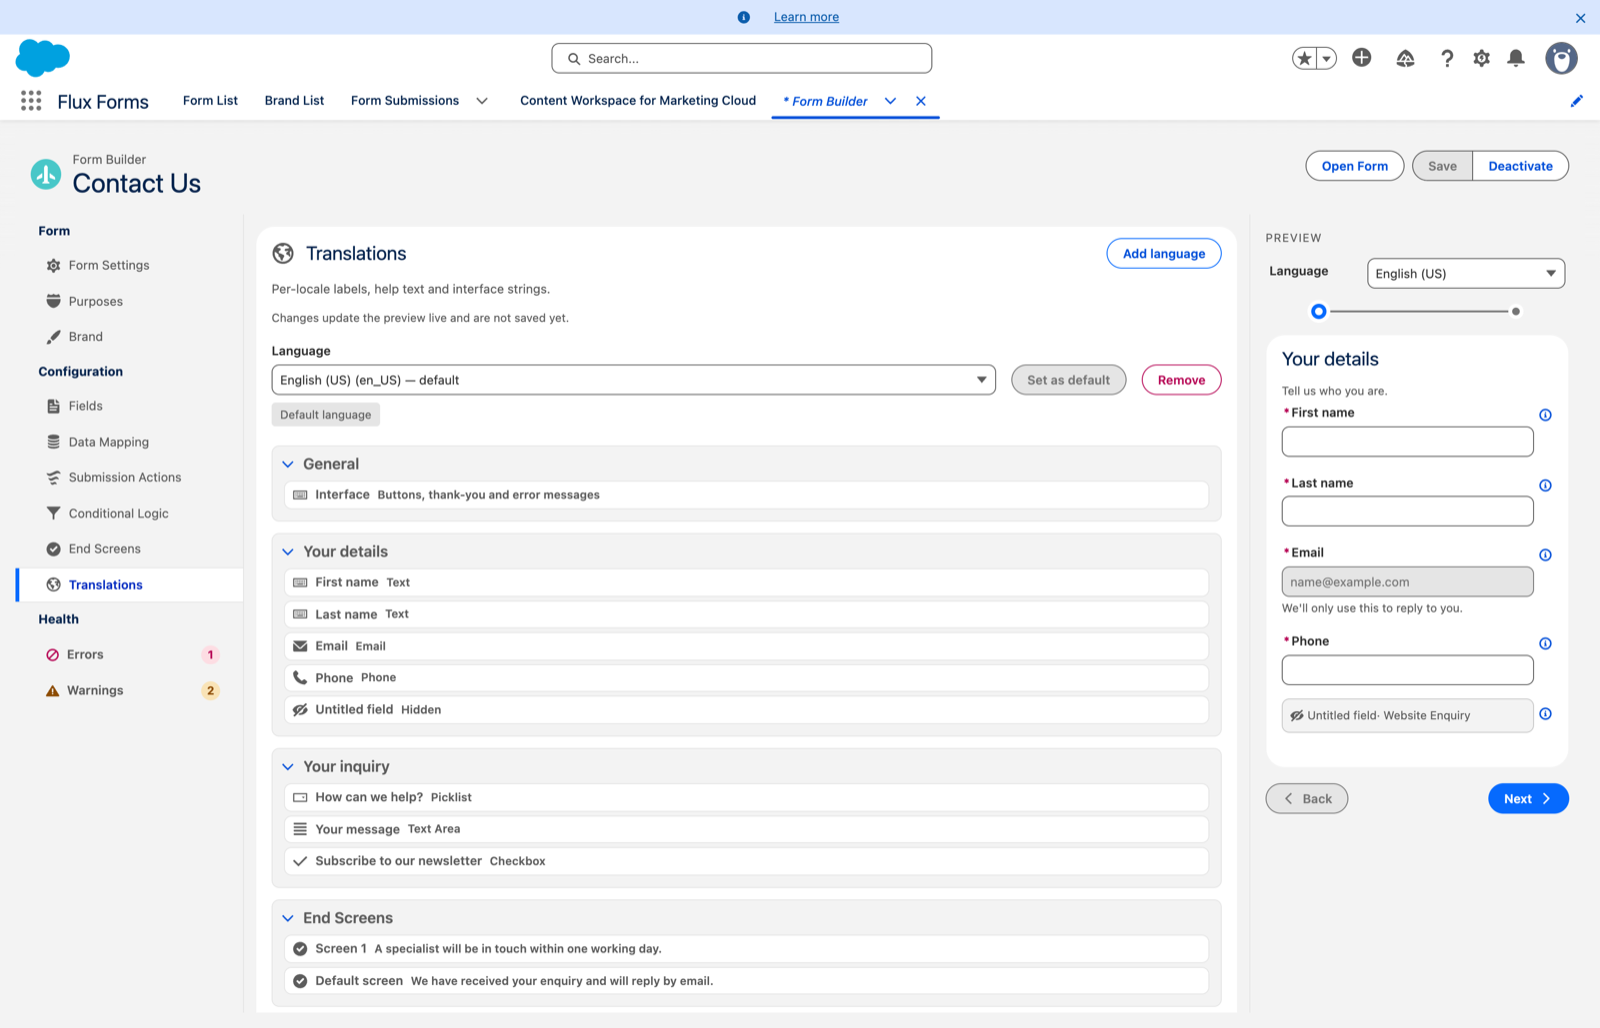
For the selected language, the layout mirrors the Fields scope — everything is a collapsible card whose rows open a small dialog.
- General — click the Interface row for the Next / Previous / Submit button text, the thank-you message, and the validation and submission error messages.
- Each section — click its title, or the pencil, for the translated title and description. The description is the same rich-text editor as the default language, so bold, lists and links are preserved per language.
- Each field — click the pencil on the field's row for its translated label, help text (also rich text), placeholder, validation message, and — for picklist, radio and checkbox fields — a label per option.
- End Screens — shown after the sections if the form has conditional thank-you screens. Click a screen row to translate its Heading and Message.
Translate only what differs
Anything you leave blank falls back to the default language. You only need to translate what actually changes.
Checking a translation
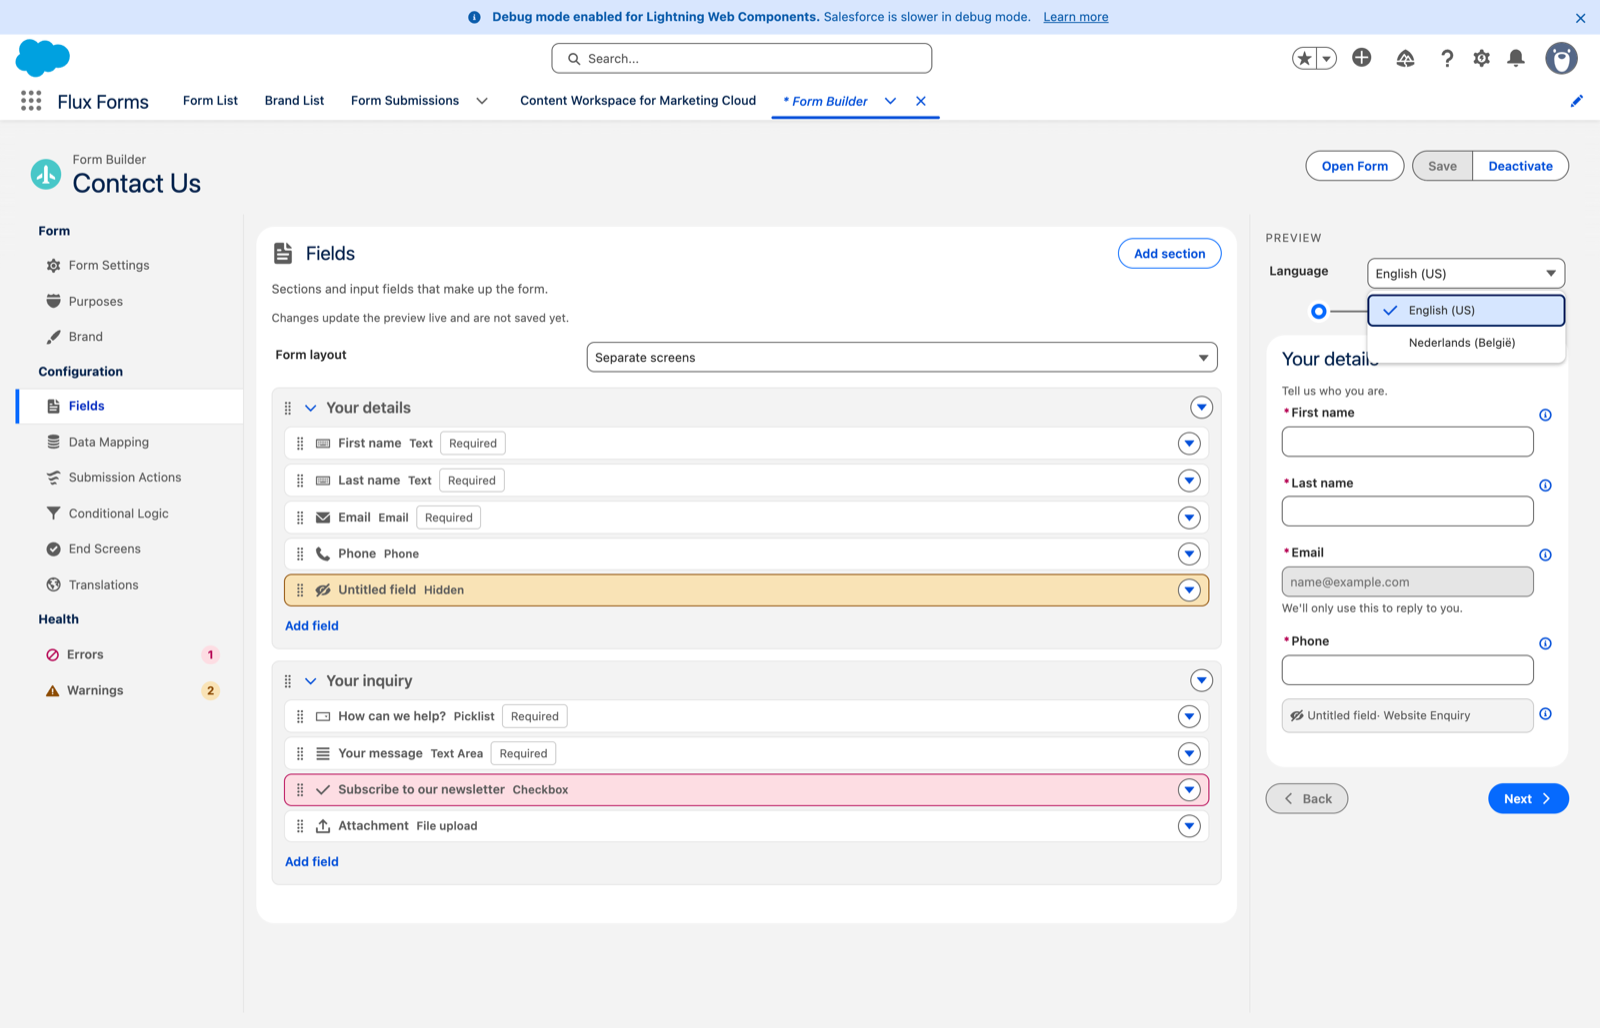
Use the Language picklist at the top of the preview pane — it appears once the form has more than one language. Pick a language and the whole preview re-renders in it: field labels, section titles, and the Back / Next / Submit buttons. You see exactly what a visitor in that language gets.
One thing to watch
Editing the default language here also updates the labels shown in the Fields editor and the preview, because they are the same text. Renaming a field's label in the default language is a rename everywhere, not a translation.
Your translation edits are kept when you Save.
For visitors
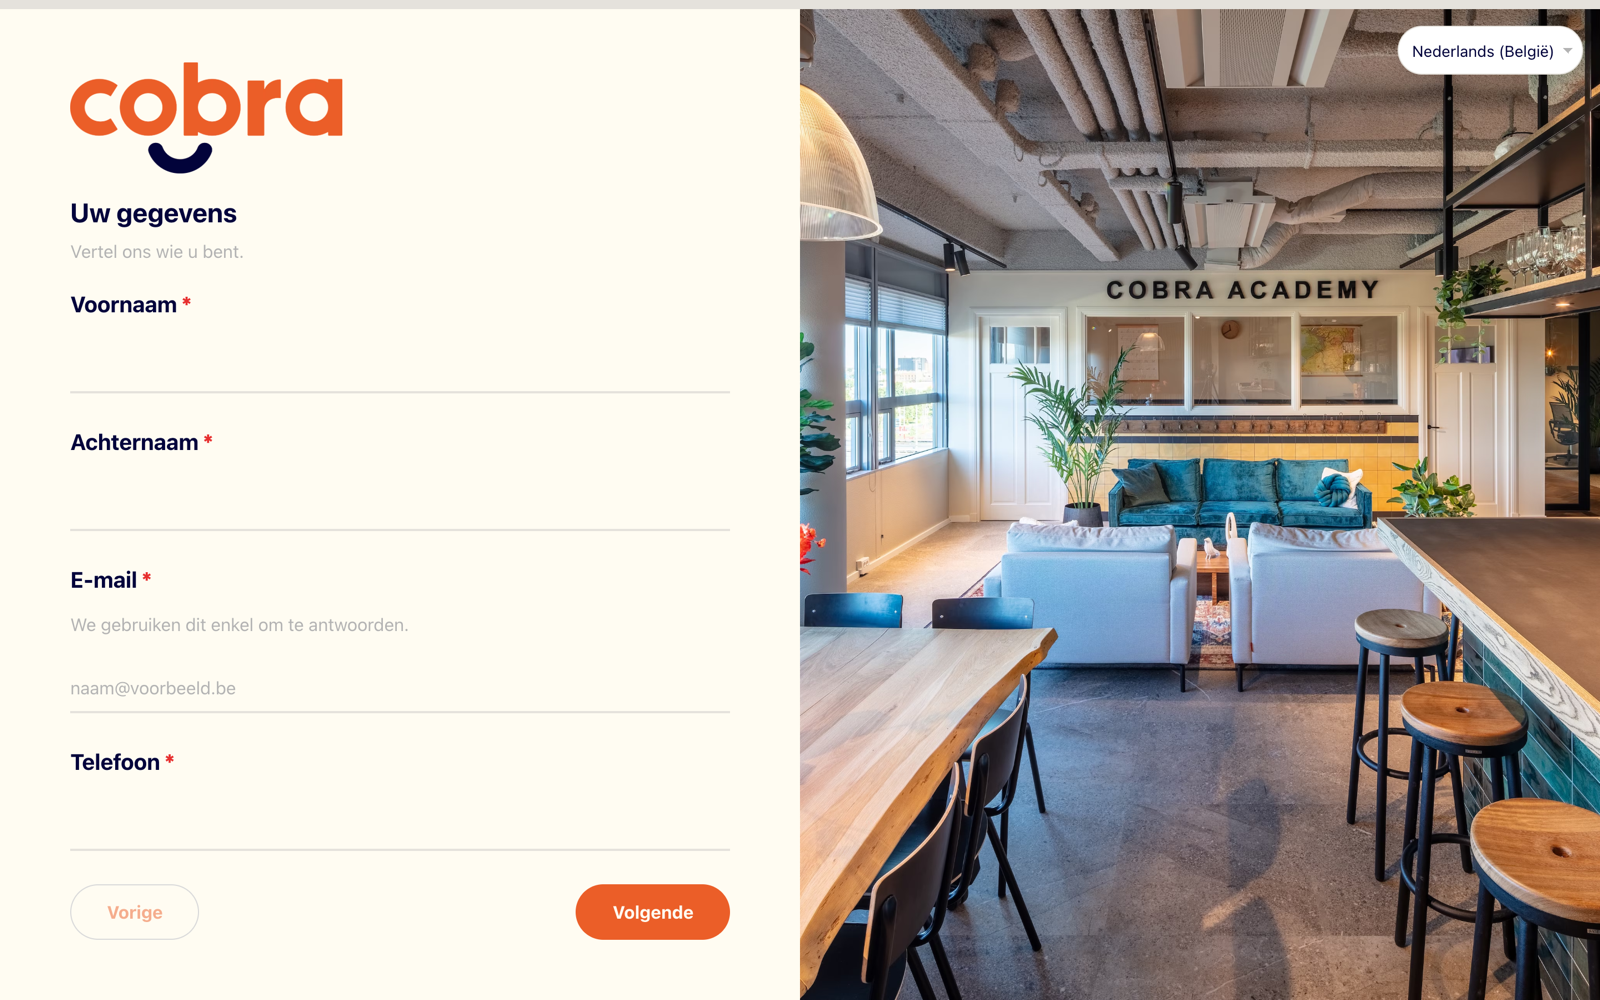
If a form is offered in more than one language, a compact language selector appears in the top-right corner of the published form, so a visitor can switch at any time without losing what they have already entered. See What visitors see.
A visitor's language can also drive rules — Language Equals Nederlands → Require the VAT-number field. See Conditional logic.